How to Start Raising Chickens for Beginners: The Complete First Flock Checklist
The short answer: Start with 4 to 6 hens, decide between baby chicks and started pullets, and have your brooder and coop ready before the birds come home. Chickens are not complicated, but almost every beginner problem comes from bringing birds home before the housing, heat, feed, and water are sorted out.
This guide contains affiliate links. If you buy through them, we may earn a commission at no extra cost to you — see our Affiliate Disclosure.
Step 1: Make the Decisions Before You Buy Anything
Check your local rules
Before you spend a dollar, confirm you are allowed to keep chickens where you live. City ordinances, county rules, and HOA agreements may limit flock size, ban roosters, or set coop setbacks from property lines. Rural areas are usually more flexible, but “usually” is not a guarantee. A quick search of your local code now is cheaper than rehoming a flock later.
Be honest about the time commitment
Chickens need attention every day: feed and fresh water, a quick health check, eggs collected, and the coop secured at night. That is often only 10 to 15 minutes, but it is every day, in August heat and January cold alike. If you travel, line up a neighbor before you need one. And plan for the long view: hens lay best in their first two to three years and can live five to ten years, so a flock is a multi-year commitment.
Decide what the flock is for
Most beginners want eggs, and that is the simplest goal to plan around. A healthy laying hen in her prime typically lays roughly 4 to 6 eggs per week in season, dropping off in winter and with age — so 4 to 6 hens supply most families with plenty of eggs, plus a few extra to share. Meat birds are a different project with different breeds, housing, and timelines; do not mix the two plans in your first flock.
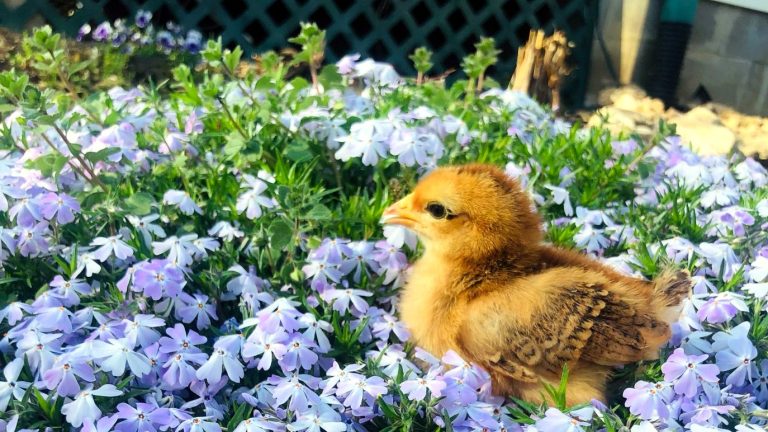
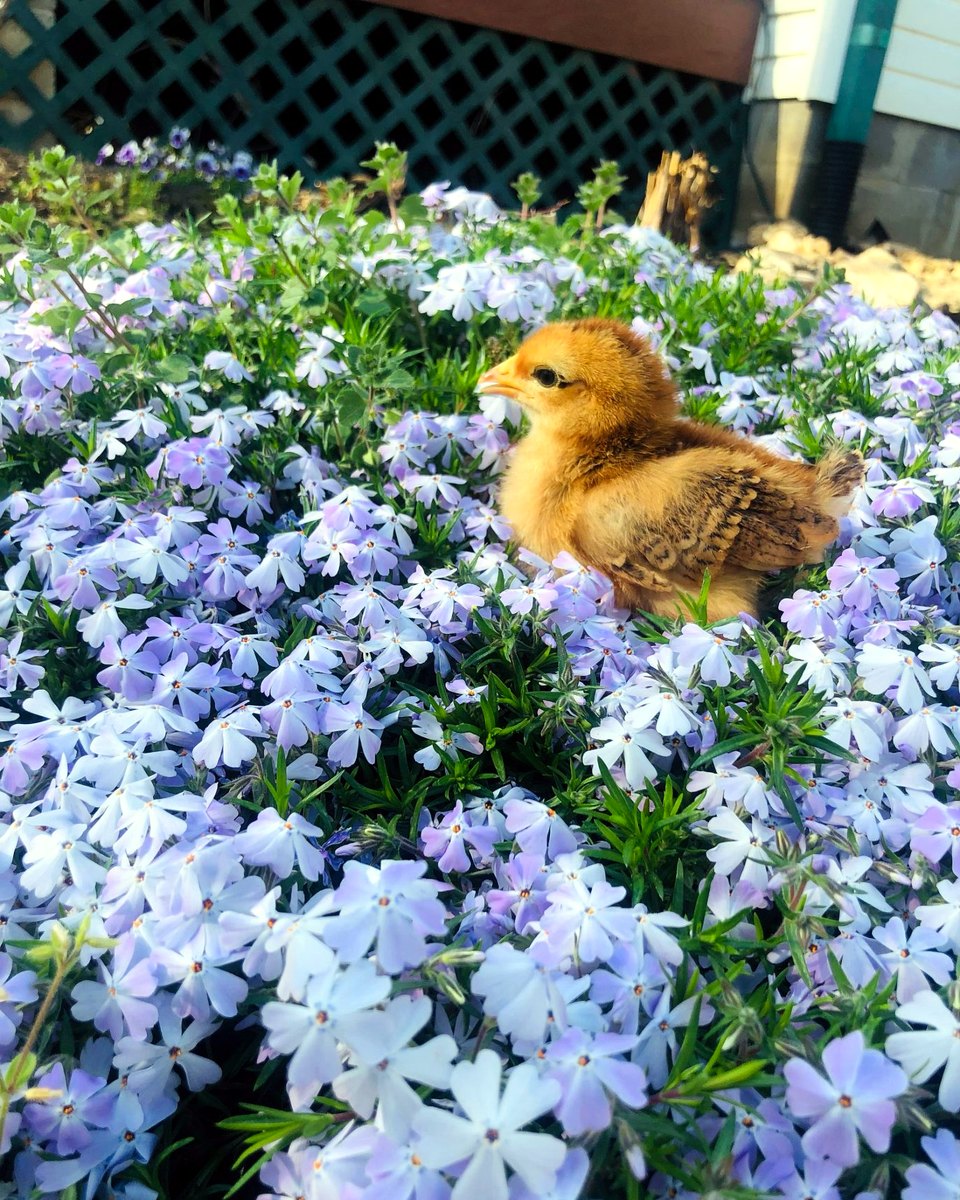
We initially started with about a dozen chicks. There are going to be some guaranteed deaths, as baby chicks are fragile and can sometimes get trampled. So, we built the brooder box first and then got the amount of chicks based on that size.
Step 2: Chicks vs. Started Pullets
This is your biggest first decision — there is no wrong answer, only trade-offs.
Baby chicks
Chicks are the cheapest way to start and the most common. Day-old chicks are inexpensive, widely available in spring, and let you choose exact breeds. The cost is time and equipment: chicks need a heated brooder for roughly the first 6 weeks, several checks a day, and they will not lay until about 18 to 24 weeks old. If you buy unsexed (“straight run”) chicks, expect roughly half to be roosters. Sexed pullet chicks cost a little more and remove most of that problem.
Started pullets
Started pullets are young hens, usually 15 to 20 weeks old, sold just before laying begins. They cost considerably more per bird, but they skip the brooder stage entirely — no heat source, no chick feed, no half-year wait for eggs. If your coop is built and you want the simplest start, pullets are hard to beat. The catch: they sell out fast and are harder to find mid-season.
Adult hens
Be cautious with laying hens offered locally: they are often for sale because their laying has slowed, and moving adult birds between flocks carries disease risk. Start with chicks or pullets from one source, at one time.
Step 3: How Many Birds, and Which Breeds?
Start smaller than you think. Four to six hens is the sweet spot for most beginners: enough eggs to matter, a manageable coop size, and a flock that is forgiving while you learn. You can add birds next year. It is much harder to shrink an overcrowded setup.
For breed selection, beginners generally do well with calm, hardy breeds that tolerate both summer heat and winter cold. Choose two or three breeds rather than one of everything, and buy all your first birds at once — adding birds later requires quarantine and a careful introduction.
Step 4: Housing — Brooder First, Coop Ready Second
Chicks start in a brooder: a draft-free, predator-proof box or stock tank with bedding, heat, feed, and water. Plan on roughly 1/2 square foot per chick for the first couple of weeks, growing to about 1 square foot per bird by move-out. They grow faster than you expect — a brooder that looks roomy on day one can be crowded by week three.
Your coop needs to be finished, or very close, before the chicks outgrow the brooder at around 6 weeks. As a widely used guideline, plan for about 4 square feet of coop space per standard hen and about 10 square feet per hen in the run. Bigger is almost always better; crowding causes more beginner problems than almost anything else. We cover exact numbers for 4, 6, and 12 hens in our coop-sizing guide. Ventilation matters as much as floor space: airflow up high lets moisture and ammonia escape, without drafts blowing directly on roosting birds.
Step 5: The Starter Gear Checklist
You do not need much, but you need all of it before the birds arrive:
- Brooder — stock tank, large tote, or purpose-built box, with a secure cover
- Heat source — heat lamp or brooder heat plate (see our heat lamp vs. heat plate comparison before you buy)
- Thermometer — a simple one, placed at chick level
- Chick feeder and chick starter feed — medicated or non-medicated; ask what the chicks were started on and stay consistent
- Chick waterer — shallow base so chicks cannot fall in and get soaked
- Bedding — large-flake pine shavings are a common choice; avoid slippery surfaces like newspaper
- Grit — needed once chicks eat anything beyond starter feed
- The coop and run — built, predator-proofed, and ready by week 5 or 6
- Adult gear — layer feed, plus a feeder and waterer sized for adult birds, ready for the move outside
- A basic first-aid kit — wound spray, gloves, and a small carrier for isolating a sick bird
See current chick starter kit options on Amazon
Compare brooder heat plates and heat lamps on Amazon
Step 6: First-Week Care, Day by Day
Day one. Run the heat for several hours before chicks arrive, so the warm zone at chick level is about 95°F (35°C). As you place each chick in, dip its beak in the water so it learns where to drink. Expect loud peeping during the move, then chicks exploring, eating, and sleeping in short bursts.
Days two to seven. Check feed, water, and temperature several times a day, and learn the pattern: chicks spread evenly around the brooder are comfortable; chicks piled under the heat and peeping loudly are cold; chicks pressed against the far edges, panting, are too hot. Adjust the heat a little at a time based on behavior, not just the thermometer.
Watch the vents. Young chicks can develop “pasty butt,” where droppings stick and block the vent. Check each chick daily for the first week; soften any blockage with warm water and remove it gently. Catching it early takes a minute. Missing it can kill a chick.
End of week one. Lower the temperature by about 5°F per week — roughly 90°F in week two, 85°F in week three — until the chicks are feathered out at about 6 weeks. By the end of week one, healthy chicks should be noticeably bigger and growing real wing feathers.
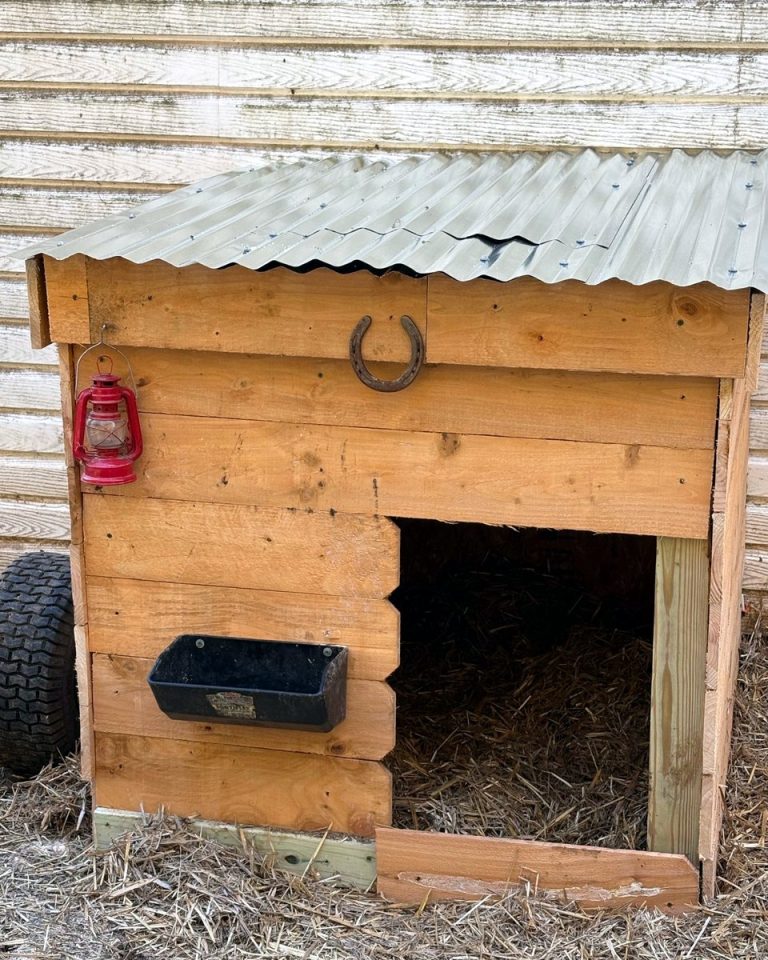
For our first brooder box, I bought 2 sheets of 4×8 foot plywood. I cut both in half longways, so I had 4 2×8 boards. I then cut notches in each end so they could inter-link
What a First Flock Typically Costs
Costs vary by region and by how much you build yourself, so treat these as planning ranges, not quotes. Chicks are the cheap part: usually only a few dollars per sexed chick, while started pullets often run several times that. The real money goes into housing — a small DIY coop from new lumber commonly runs into the hundreds of dollars, and reclaimed materials cut that sharply. A basic brooder setup is a modest purchase if you use a stock tank or tote you already own. Ongoing costs are mainly feed: a laying hen eats roughly 1/4 pound per day, so a 50-pound bag goes a predictable distance for a known flock size.
Common Beginner Mistakes
- Buying chicks before the coop exists. Six weeks sounds like plenty of building time. It is not, once work and weather get involved.
- Starting with too many birds. Crowding leads to stress, feather picking, and health problems.
- A heat source with no escape. Chicks need a warm zone and a cool zone, so they can regulate themselves.
- Skipping predator-proofing. Hardware cloth, secured latches, no gaps at ground level. If a raccoon can reach it, it is not finished.
- Changing everything at once. New feed, new housing, and new flock mates in the same week makes problems hard to diagnose.
- Waiting on a sick bird. A bird that is droopy, not eating, or being picked on should be separated and assessed the same day.
Your First-Flock Timeline at a Glance
Weeks -6 to 0: check local rules, build the coop, set up the brooder. Week 0: chicks home, 95°F warm zone, teach them to drink. Weeks 1 to 6: drop heat about 5°F per week, watch vents and behavior. Week 6: feathered chicks move to the coop. Weeks 18 to 24: switch to layer feed and watch for the first egg.
FAQ
When is the best time of year to start chickens?
Spring is the most forgiving time: chicks brood as the weather warms, and pullets often start laying by fall. Winter brooding means fighting cold drafts; mid-summer brooding means managing heat carefully.
Do I need a rooster for hens to lay eggs?
No. Hens lay eggs without a rooster; you only need one if you want fertile eggs for hatching. Many towns ban roosters anyway.
How long until my chicks lay their first eggs?
Most common laying breeds start between 18 and 24 weeks, though breed, season, and daylight all play a part. Birds maturing as days shorten in fall may start later.
Can I keep chickens if I work a full-time job?
Yes — most chicken keepers do. The daily chores are short. What you need is a routine, a coop that can be secured quickly at night, and a backup person for trips. An automatic coop door is a convenience many working keepers add later, not a day-one requirement.